Annie’s CardMaker Kit-of-the-Month Club is a monthly subscription that includes all the instructions and special supplies you need to make 8 to 10 stunning cards you can share and display. Each month will teach you a new technique to create a delightful card!
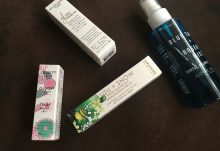
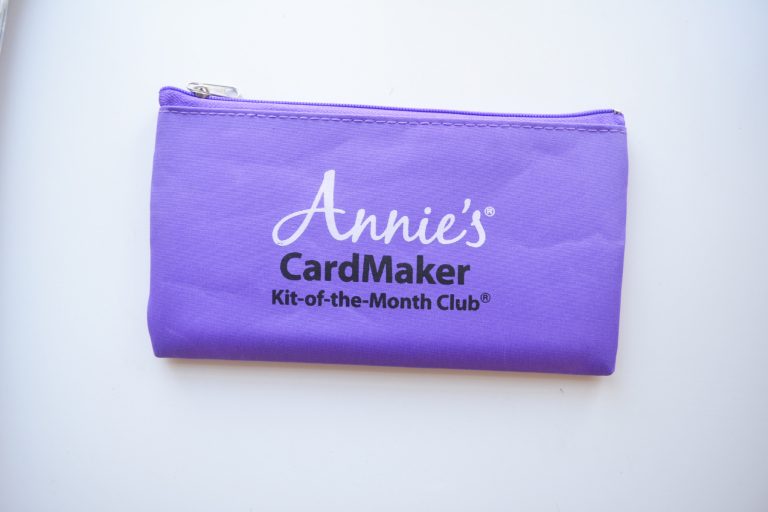
Today, I will be reviewing the March 2019 CardMaker Kit of the Month. Everything arrived neatly packaged in plastic.
March’s technique was Watercolor! I adore watercolor decor, and think this is the perfect craft for springtime. The soft, pastel shades are evocative of spring, and these cards would be totally appropriate for Easter.
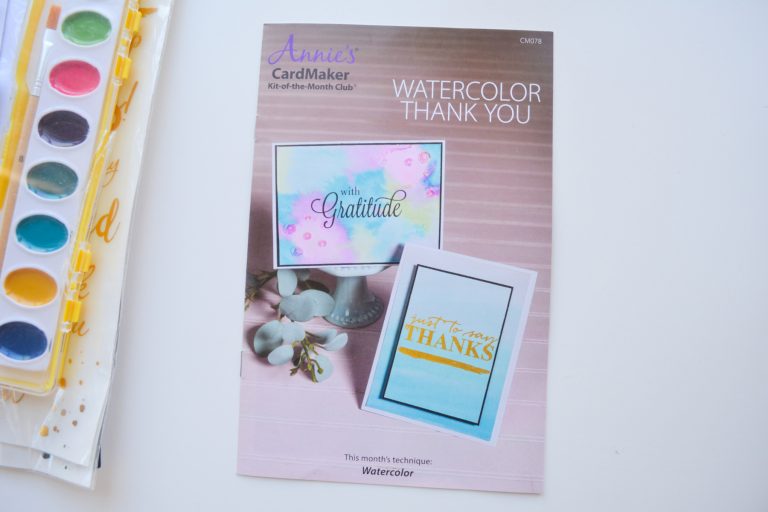
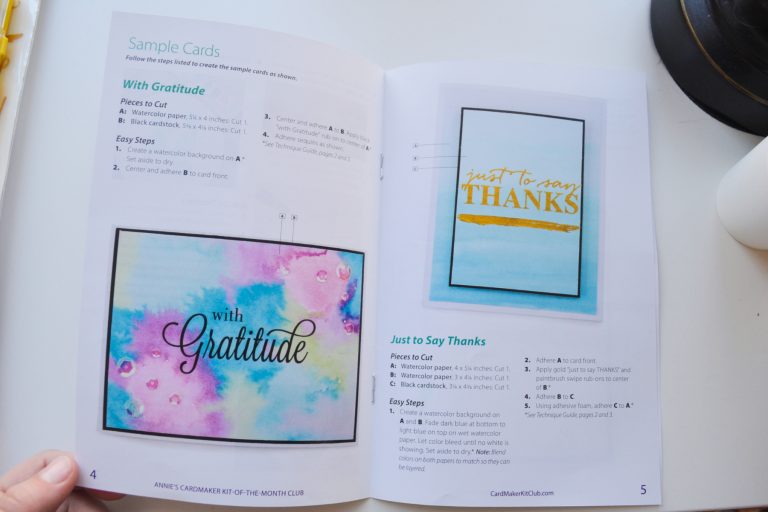
The CardMaker Kit included a full instruction booklet, complete with a product list and photos of each step. I LOVE when crafting kits include lots of pictures and helpful tips. I am usually quite bad at crafts, so I need as much help as I can get! The booklet also listed all of the household items you would need to complete the craft. Thankfully, I had everything on hand already.
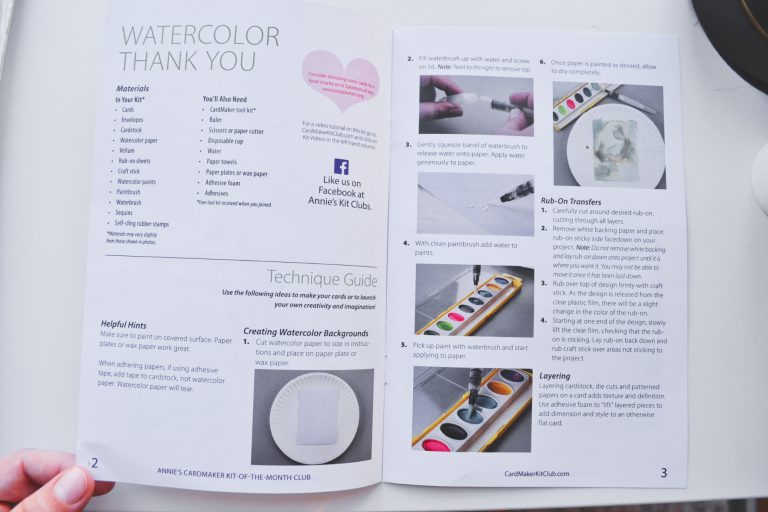
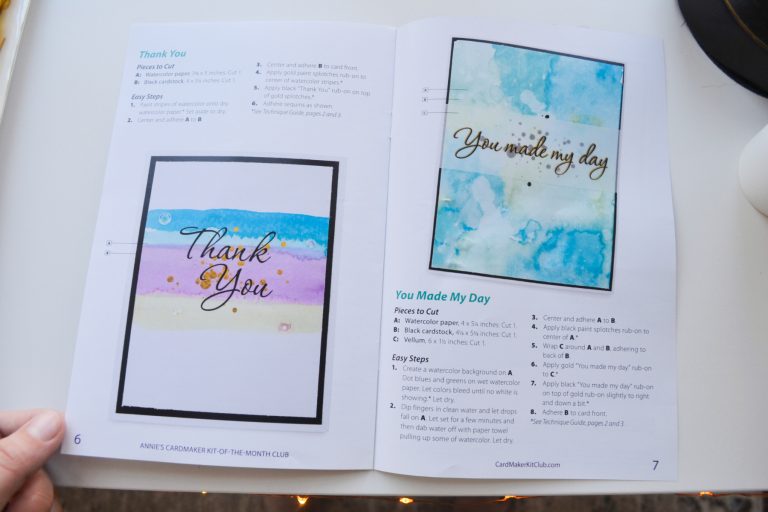
I can create my own watercolor designs if I’d like, but the instruction booklet also had some cute templates to recreate.
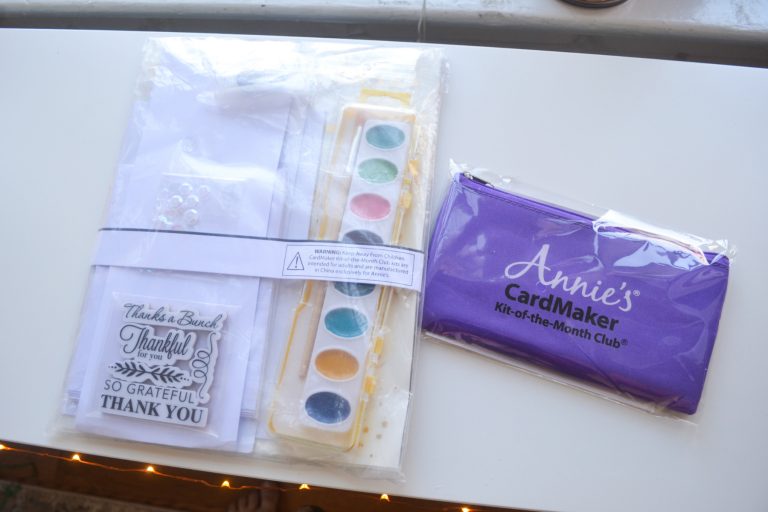
When you receive your first CardMaker Kit, it will contain a little Welcome Toolkit. This kit contains:
- acrylic block
- acrylic or rubber stamps
- bone folder
- embossing/piercing tool
These tools will be used in future kits, so make sure to hold on to them!

Here are the rest of the materials in March’s CardMaker Kit:
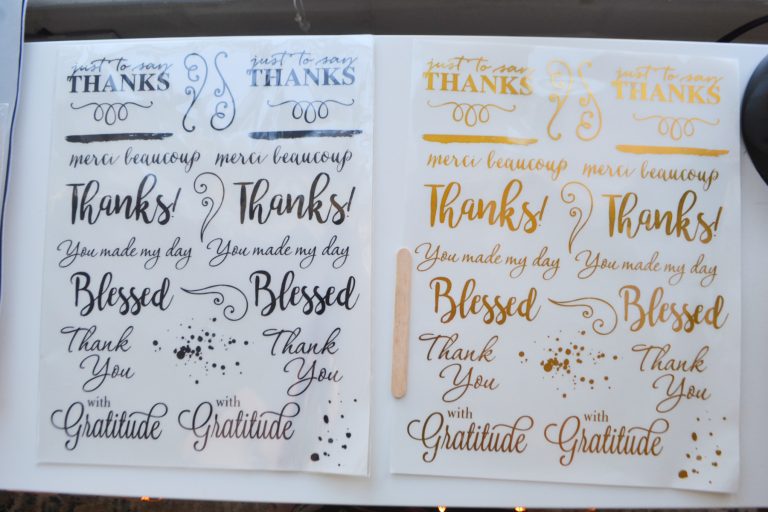
Rub-On Sheets in Black and Gold
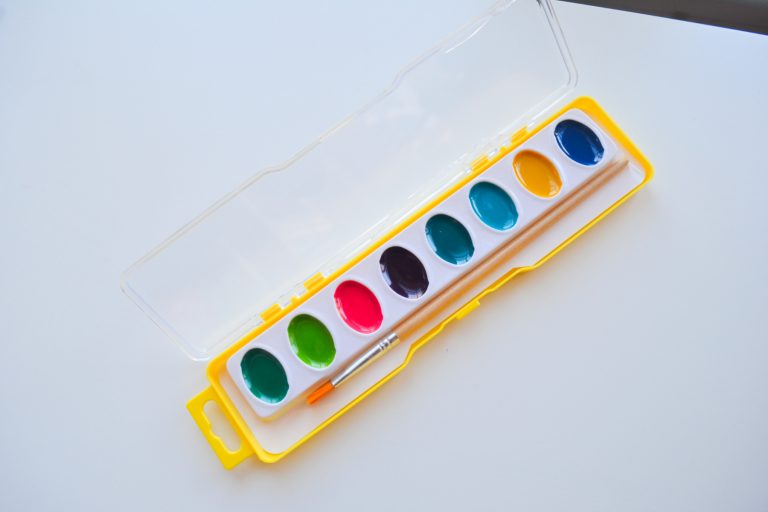
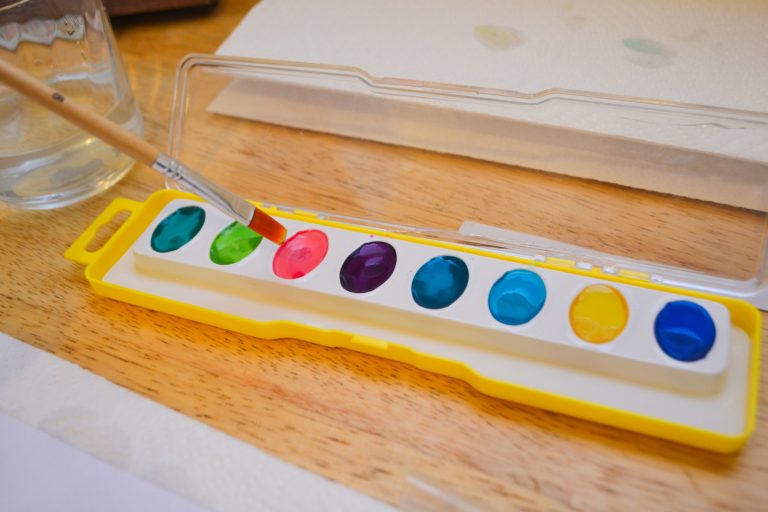
Watercolor Paints and Paintbrush
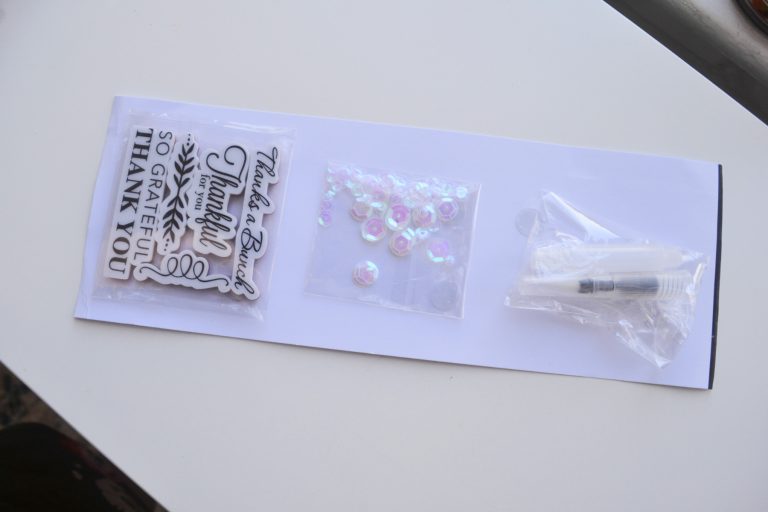
Stamps, Sequins, and Waterbrush
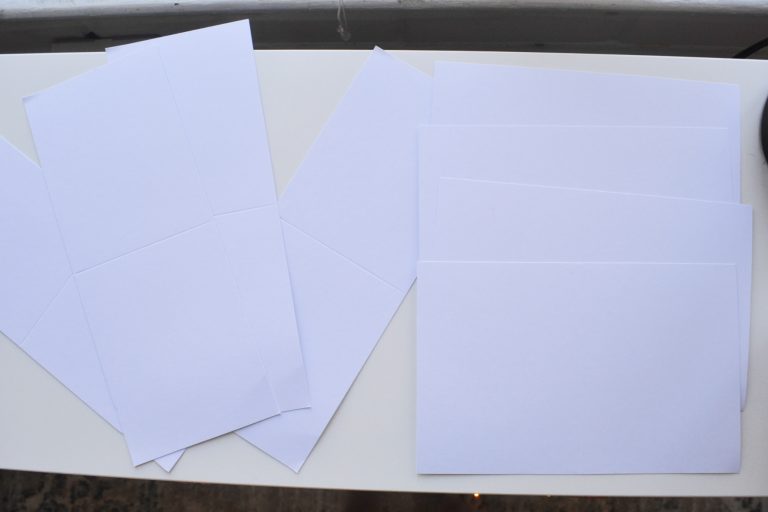
8 Envelopes

8 Cards
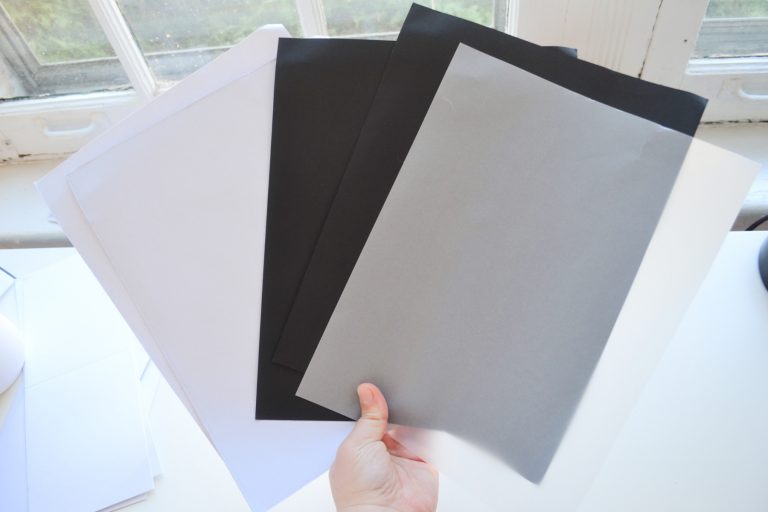
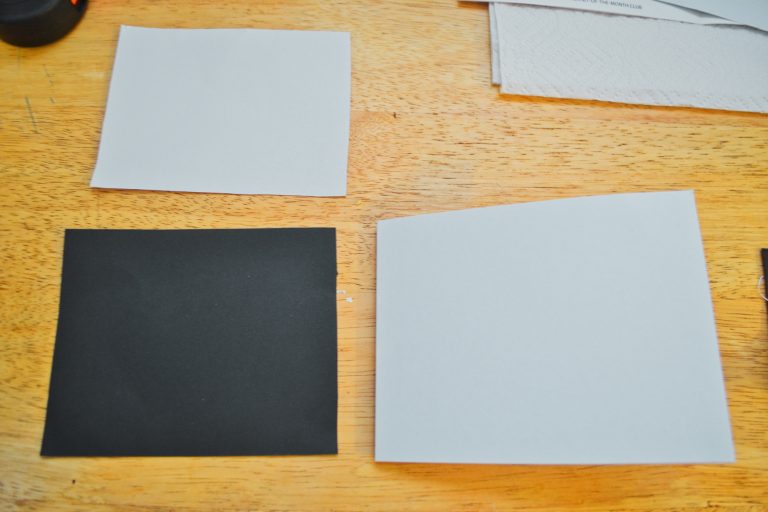
Watercolor Paper, Black Paper, and Vellum
I decided to follow their “With Gratitude” card template, but to use a different color scheme and omit the sequins. The first step was to cut out a 5 1/4 x 4 inches piece of watercolor paper, and a 5 3/8 x 4 1/8 inches piece of black cardstock. These would stack on top of the white cardstock, to give the card a framed effect.
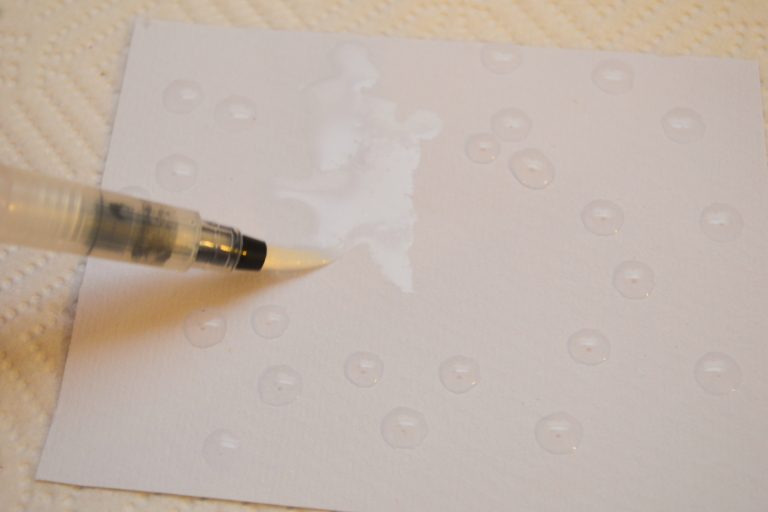
Next, I used the Waterbrush to spread a generous amount of water all over the back of the watercolor paper.
I used the paintbrush to add a small amount of water to the watercolor paints.
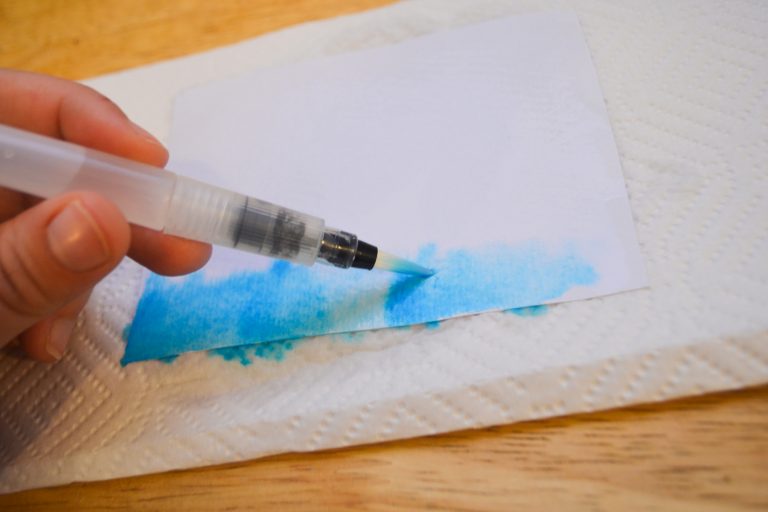
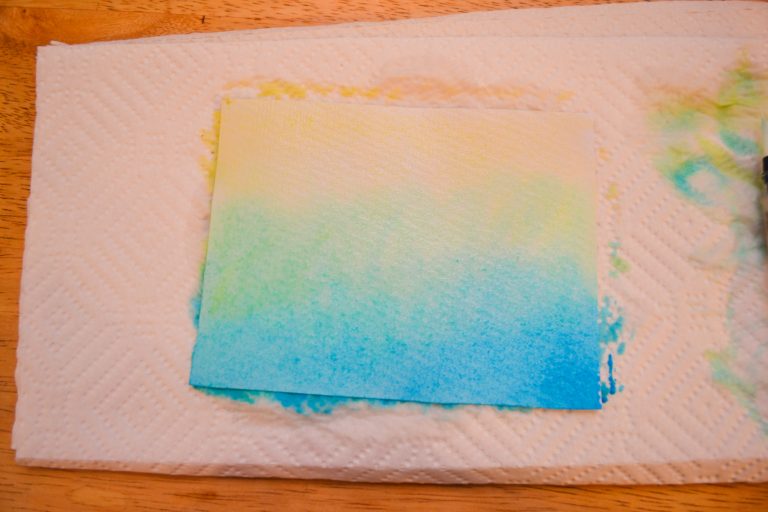
Next, I used the Waterbrush to paint a design on the paper! I wanted an ombre design, so I started with dark blue and faded it into teal, then green, then yellow.
After I was happy with my design, I let it dry for about 20 minutes.
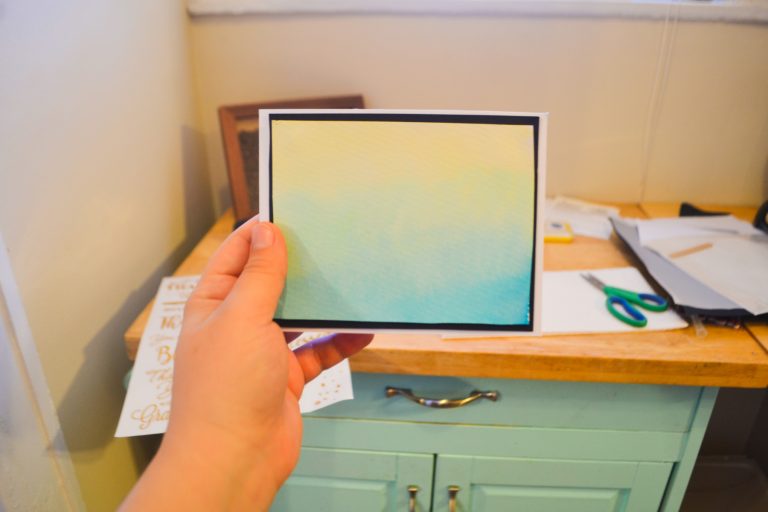
Once the paper was dry, I stacked the pieces of paper and just used some regular scotch tape to stick them together. I didn’t do the greatest job of cutting the black paper – oh well.
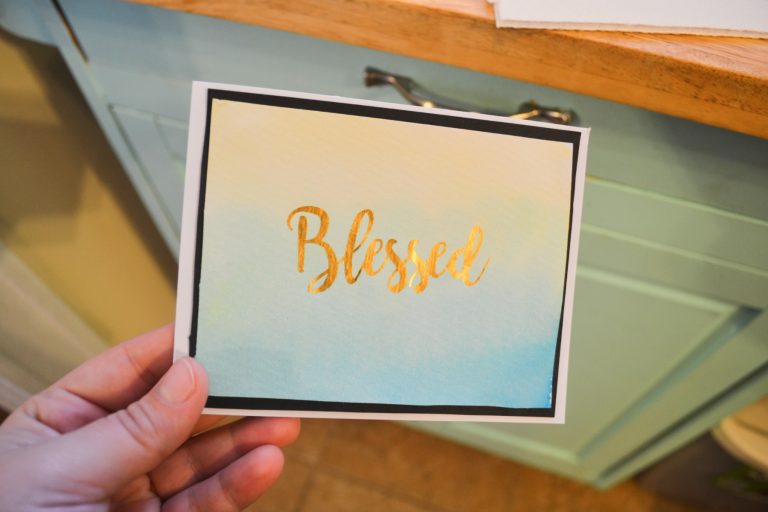
The final step was to cut out “Blessed” from the gold rub-on sheet, and adhere it to the card. It was pretty easy; you just rub over the sheet with a popsicle stick, and then slowly lift it up.
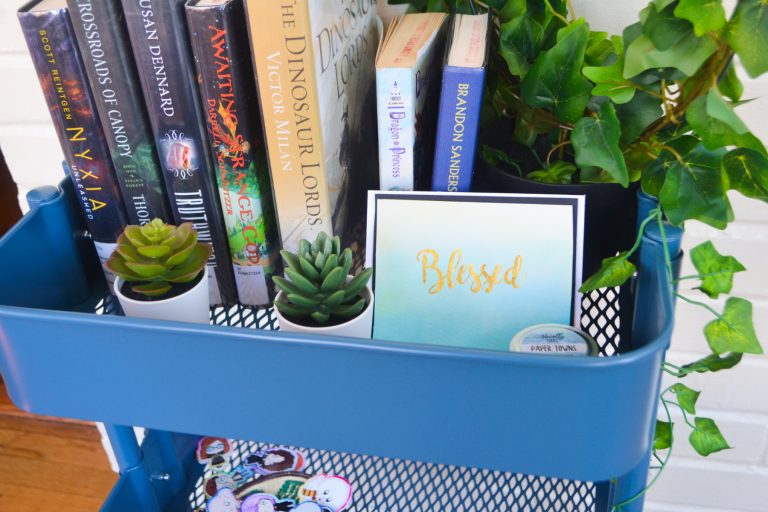
I LOVE how the card turned out, and I can’t believe I managed to make something look good and Pinterest-y with watercolors. I plan on making Easter cards with the rest of the supplies, but I will be proudly displaying this card on my library cart.
Annie’s CardMaker Kit of the Month Club is an affordable, fun way to make your own cards! The instructions are thorough, and they do a great job of teaching you new techniques. I had a lot of fun, and I am very pleased with the results.